When your heating and cooling equipment seems to always develop problems, it’s time to think about a change. Even if you previously replaced an outdated system, you might have forgotten what the process involves. This step-by-step guide will prepare you for the experience.
Preparing for the Installation
When you hire the right HVAC installer, they will evaluate your home before scheduling the installation. This inspection is necessary to determine any special tools or processes needed for the HVAC install.
The technician will note any details that will complicate the HVAC installation. For example, an overgrown tree or sunken concrete pad can affect the replacement of your outdoor compressor. You may have to hire a contractor to clear the area or lay a concrete pad. The evaluation will ensure the installation goes smoothly.
Removing the Old System
Before your HVAC installation proceeds, the installers must remove your old system. This is more complicated than you might assume.
Before they can handle the equipment, the installers must safely remove the refrigerant. Since exposure to this product is hazardous, the installer must have the proper certification and training to handle it.
Following the removal of the refrigerant, the installers can remove the indoor evaporator coils and copper refrigerant lines. The lines are usually buried under concrete or concealed in a ceiling. If this is the case, the technician will install new lines as they remove the old set.
The final step before moving forward with the HVAC installation service is to remove the outdoor compressor. After removing the connections, the old compressor is safely removed. The installers will clear the pad and prepare it for the compressor installation.
Installing the HVAC System
When the technicians begin installing new HVAC equipment, they will inspect the unit for damage. While HVAC equipment gets securely packaged for shipment, this step is a precaution to make sure your equipment arrives in good condition.
The installers will place the compressor on the pad and connect the refrigerant lines. They will connect the indoor evaporator coils as well.
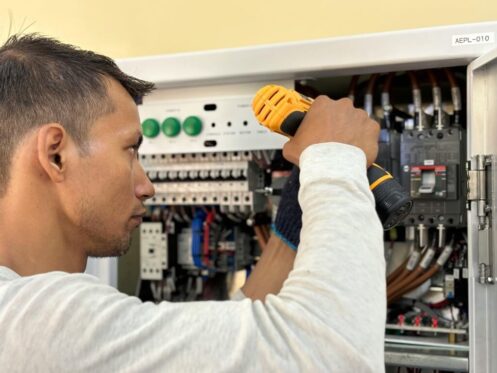
The next steps involve checking the electrical connections and upgrading them as necessary. The installers will also replace the condensate drain line. They will finish by tightening the connections. Lastly, they will run through a setup checklist to make sure they didn’t miss anything during the HVAC installation.
Starting the System for the First Time
If you took the time to learn about HVAC ratings, your research will start paying off at this point. The HVAC installation isn’t complete until the installers run the system for a few cycles to troubleshoot any potential problems.
After making any required adjustments, the installers will clean up and remove their tools and equipment. The technicians will leave you to enjoy your replacement HVAC system.
Scheduling Your First Maintenance Appointment
In addition to extending the lifetime of your replacement system, regular maintenance is necessary to comply with the warranty terms. Your HVAC installer will schedule your first maintenance appointment after completing the installation.
Following that service, you’ll schedule maintenance on a semi-annual basis. Signing up for an annual maintenance program with your HVAC company can simplify this process.
Trust the Pros With Your HVAC Replacement
Conway Comfort Heating & Cooling provides HVAC installation services. Even after we install your new system, we’ll stand behind our work with the maintenance services you need to protect your equipment. When you’re ready for a replacement HVAC system, contact us to request an estimate.


